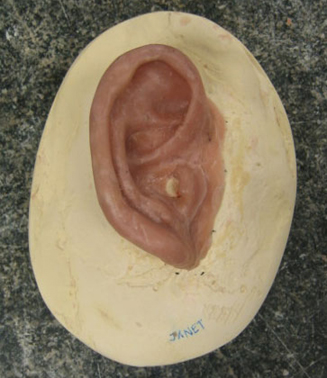
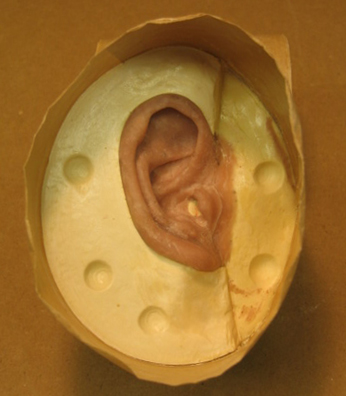
It’s been a while since the I did an entry on the ear prosthesis project. I took my time sculpting and texturing the ear because the quality of the sculpture was essential in determining the quality of the final product. Every time I thought I finished it, I ended up doing more work. Here’s the real final thing (thank goodness!):
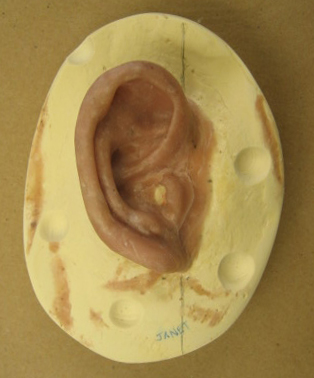
From this, I will be making a three-piece mold. The defect acts as one piece, and I will pour dental stone in two more parts–once to cover the back side of the ear up to the edge of the helix, and once more to cover the rest of the ear. To prepare for this step, I marked lines where the second piece of mold should end. Then, with a dremel, I made several indentations in the mold. This is to help keep the mold in place later when I need to take it apart and put it back together. Notice here I also filled the unwanted holes in the defect using wax. Without smoothing the outer parts of the defect, this surface texture may make it difficult to take the mold apart. A thin layer of vaseline was spread over the surface of the mold (not the ear), also helpful for separating the parts of the mold in a later process.
Next, I boxed the base with paper tape. You can also use boxing wax, but I just used the kind of tape that sticks when water is added.
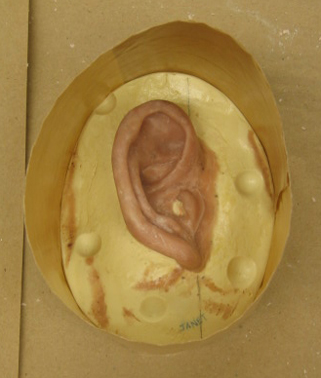
After pouring dental stone under the helix of the ear, I sat the entire mold at an angle so the stone covers the entire area under the helix while it sets. Before the stone set completely, I removed it from parts that leaked over the mark I made earlier, and molded it to parts where more coverage is needed. Once the stone sets completely, I used a dremel again to make holes in the mold, and spread another thin layer of vaseline over the new stone:
The next step involved repeating the process of mixing and pouring the stone, this time covering everything in sight. Once everything sets, I removed the tape and placed everything into boiling water to melt the wax (yes, the same wax I spent the last four weeks sculpting…scary!). You may need to let it boil for a few minutes first, take apart the mold to remove the majority of the wax, and then boil each piece separately to get rid of more wax. Brushing the mold with an old toothbrush and soap also helps with wax removal. Be careful taking things out of the boiling water!
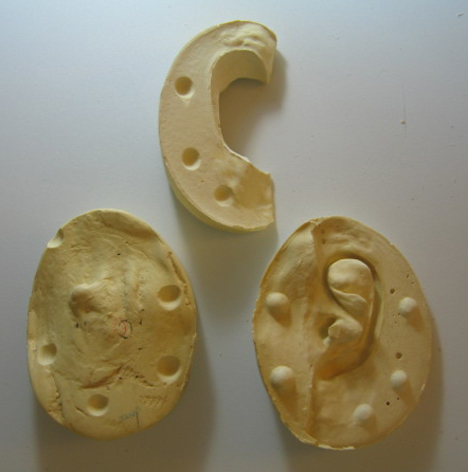
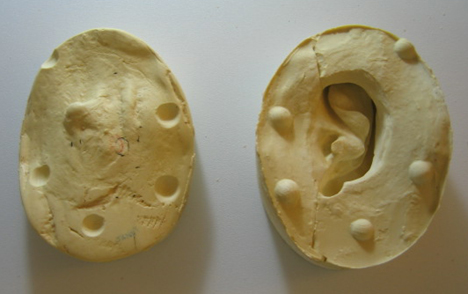
The cleaned mold, shown in two parts. Left: defect; right: two sections of this three-part mold that holds the negative shape of an ear.
The same mold, shown here in three parts: